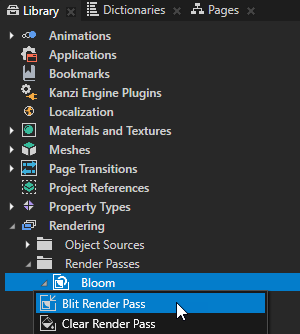
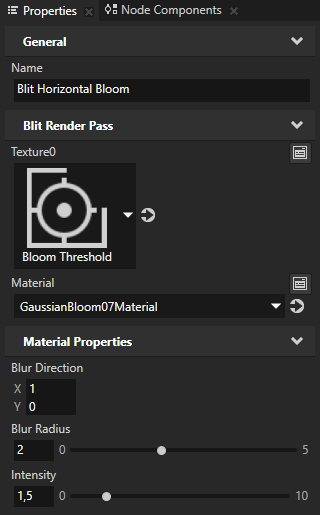
- In the Library > Rendering > Render Passes > Bloom > Render Bloom create a Blit Render Pass, name it Blit Horizontal Bloom, and in the Properties add and set:
- Texture0 to Bloom Threshold
- Material to GaussianBloom07Material
- Blur Direction X property field to 1
This way you apply the blur effect in the horizontal direction. - Blur Radius to 2
This way you set the strength of the blur effect. - Intensity to 1,5
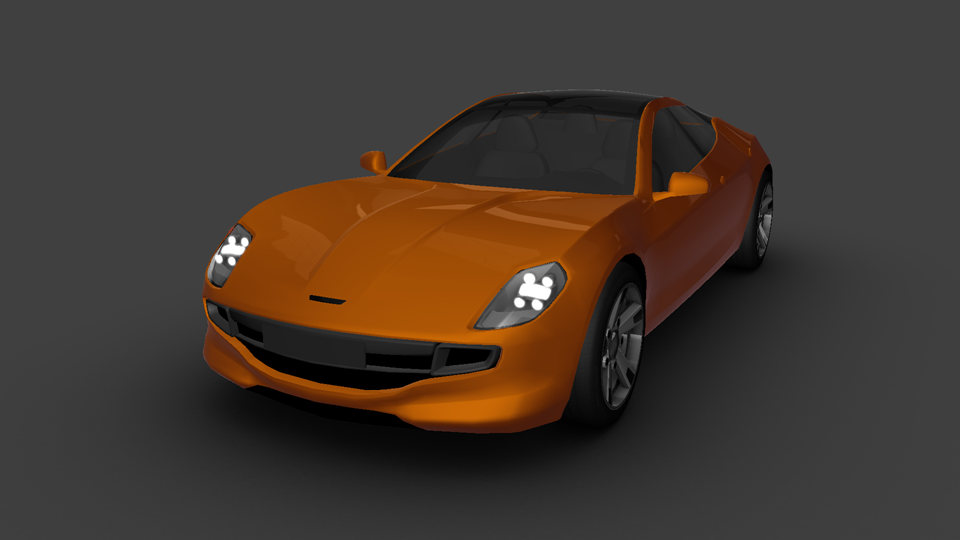
This way you set the intensity of the bloom effect.
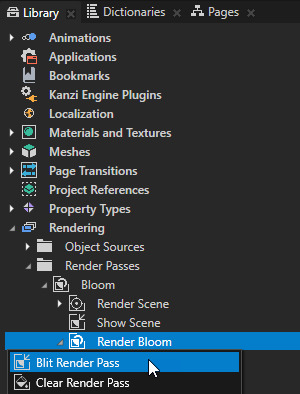
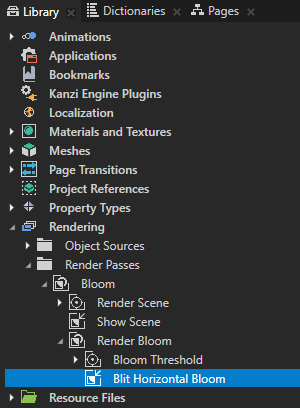

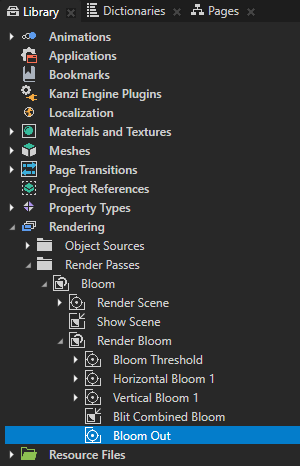
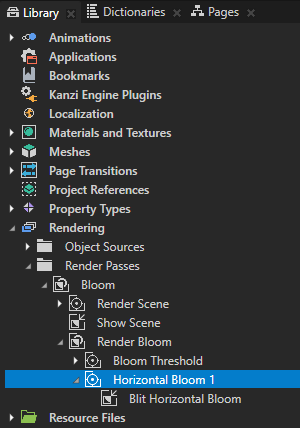
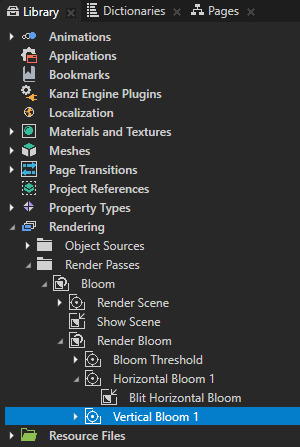
- In the Library in the Render Bloom render pass create a Composition Target Render Pass, name it Horizontal Bloom 1, and drag the Blit Horizontal Bloom to the Horizontal Bloom 1 render pass.
You use the Horizontal Bloom 1 render pass to render the Blit Horizontal Bloom render pass to a composition target. Later in this section you use the composition target as input to a render pass which applies the bloom effect with Gaussian blur in the vertical direction.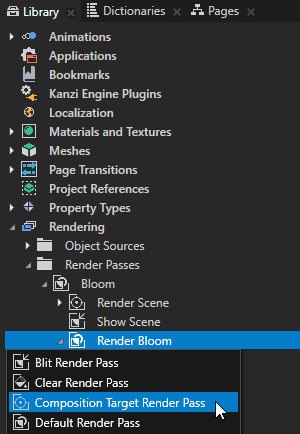
- In the Library select the Horizontal Bloom 1 render pass, in the Properties add the Resolution Divisor property, and set it to 2.
This way you divide by 2 the resolution of the composition target to which the render pass renders itself.
You reduce the resolution of the composition target to improve performance.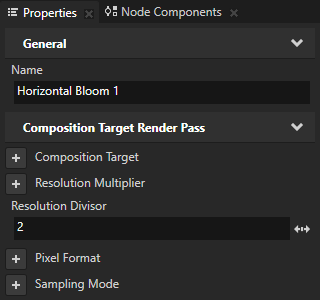
- In the Library duplicate the Horizontal Bloom 1 render pass and rename the new render pass to Vertical Bloom 1.
You use this render pass to apply the blur in the vertical direction.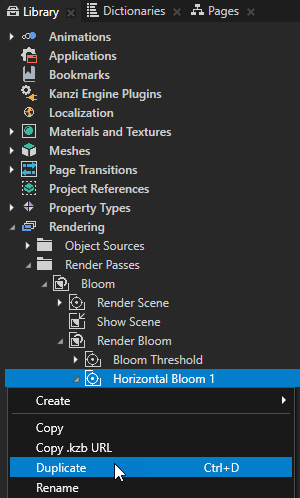
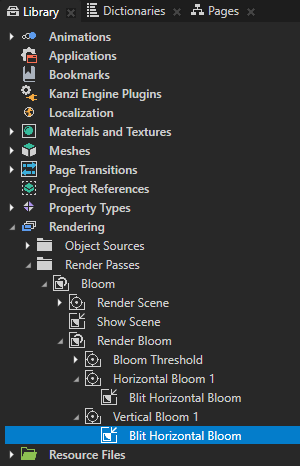
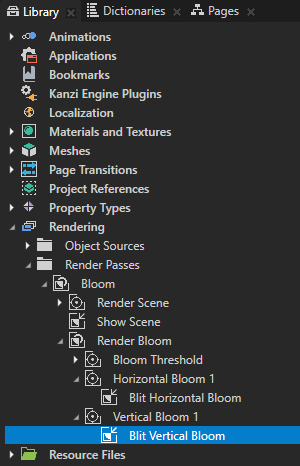
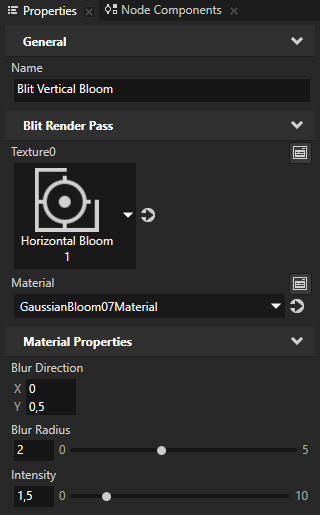
- In the Library select the Vertical Bloom 1 > Blit Horizontal Bloom render pass and in the Properties set:
- Name to Blit Vertical Bloom
- Texture0 to Horizontal Bloom 1
- Blur Direction X property field to 0
- Blur Direction Y property field to 0,5
This way you apply the blur effect in the vertical direction.
You use the value 0,5 because you divided the resolution of the Horizontal Bloom 1 render pass by 2. This way you create a symmetrical blur effect.
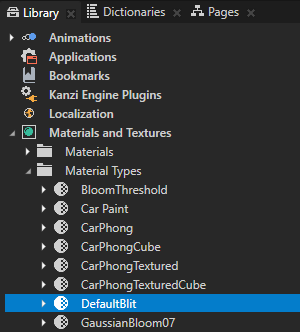
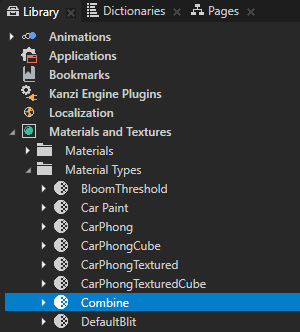
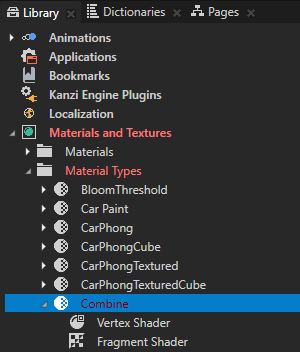
- In the Library > Materials and Textures > Material Types duplicate the DefaultBlit material type and rename the new material type to Combine.
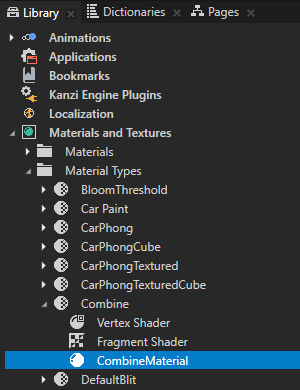
- In the Library in the Combine material type double-click the Fragment Shader to open it in the Shader Source Editor.
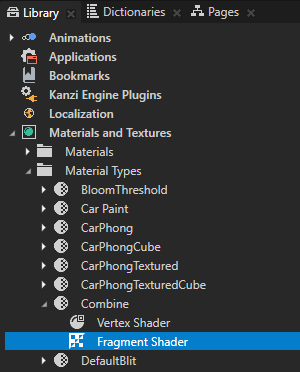
- In the Shader Source Editor replace the content of the fragment shader file with the shader code in this step and click Save.
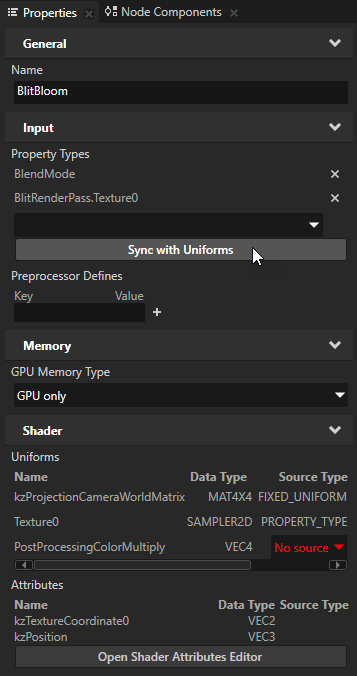
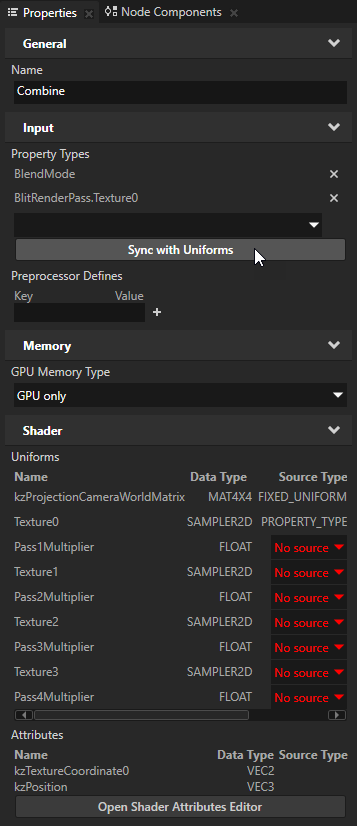
This fragment shader supports rendering four textures and defining a multiplication factor for each of them.// Define the four textures to render. uniform sampler2D Texture0; uniform sampler2D Texture1; uniform sampler2D Texture2; uniform sampler2D Texture3; // Define multipliers for the four textures. uniform lowp float Pass1Multiplier; uniform lowp float Pass2Multiplier; uniform lowp float Pass3Multiplier; uniform lowp float Pass4Multiplier; varying mediump vec2 vTexCoord; void main() { precision lowp float; vec4 color = texture2D(Texture0, vTexCoord)*Pass1Multiplier; color += texture2D(Texture1, vTexCoord)*Pass2Multiplier; color += texture2D(Texture2, vTexCoord)*Pass3Multiplier; color += texture2D(Texture3, vTexCoord)*Pass4Multiplier; gl_FragColor.rgba = color; } - In the Library select the Combine material type and in the Properties click Sync with Uniforms to create and add the properties you defined in the shader to this material type and the materials that use it.
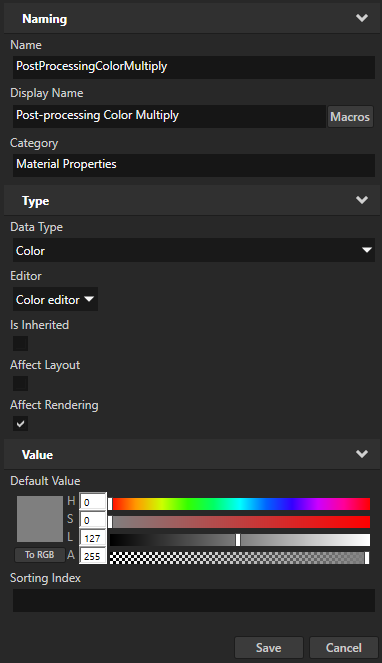
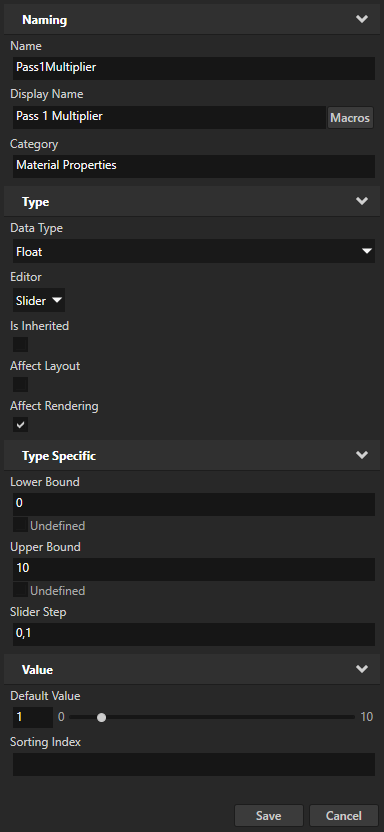
- In the Create Property Type dialog click Yes to create the custom property type Pass1Multiplier and in the Property Type Editor window set:
- Display Name to Pass 1 Multiplier
- Upper Bound to 10
- Default Value to 1

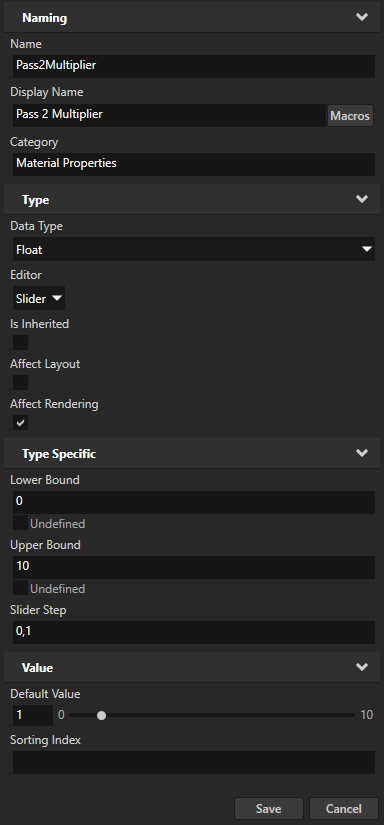
- Repeat the previous step to create these custom property types:
- For Pass2Multiplier set Display Name to Pass 2 Multiplier
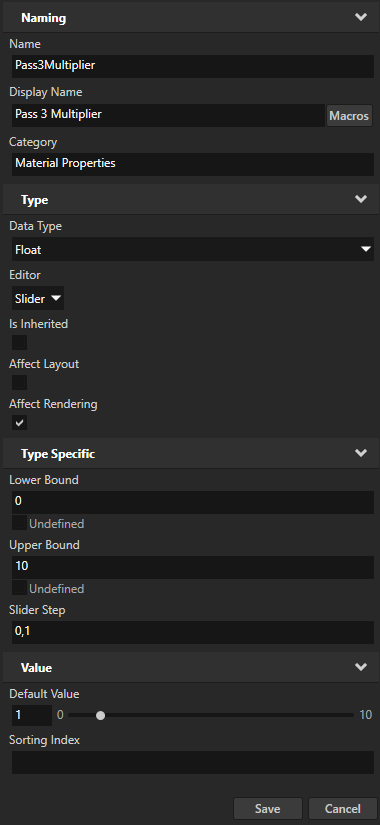
- For Pass3Multiplier set Display Name to Pass 3 Multiplier
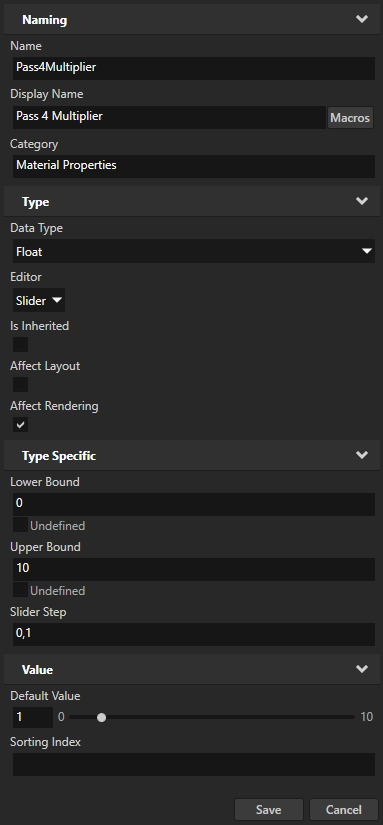
- For Pass4Multiplier set Display Name to Pass 4 Multiplier
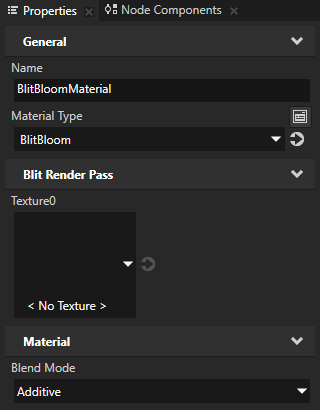
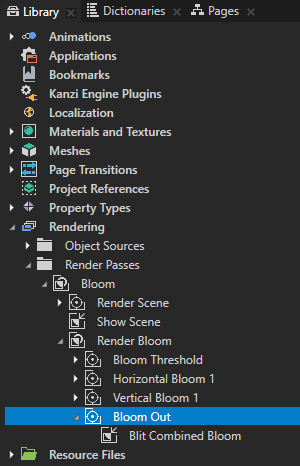
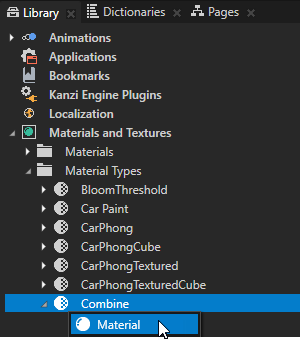
- In the Library press Alt and right-click the Combine material type, select , and name the material CombineMaterial.
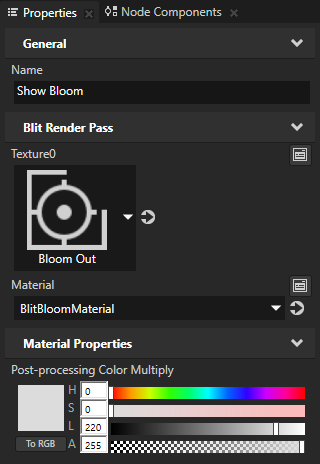
- Texture0 to Vertical Bloom 1
- Material to CombineMaterial
In the next step of this tutorial you apply the bloom effect three more times and use this render pass to combine the outputs of all four passes.